Now that my Little Lady is 5, she’s starting to learn the basics of the sewing trade on her adorable little machine (from IKEA) and I’m sure she’ll will outpace me any day now. So, fittingly, she wanted to sew something for her Daddy this year for Father’s Day. We'll start small. Maybe next year we'll make him a custom tie or work shirt... ;)
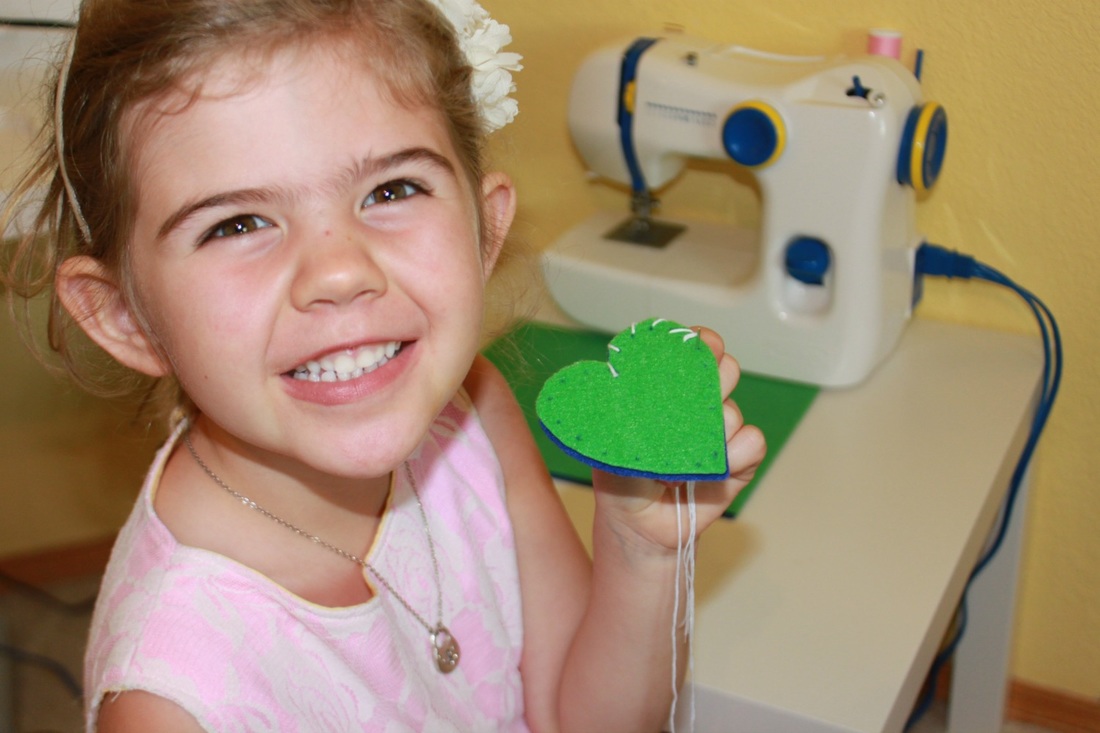
Before you say “that’s not for me, I can’t sew”, stay with me! ANYone can do this if a 5 year old can! (Even younger kiddos and their non-seamstress Mama’s!) Hand stitching is great for developing hand-eye coordination, so don't think it's just for girls either! It took us 30 minutes (with stopping to take pictures) and about $1.50 in supplies easily found at Joann, Michael’s, Hobby Lobby or any other craft store. And our computer & printer. That’s it. So, will you give it a try? Here we go…and just to lure you in, here’s the finished product:
Supplies Needed:
Step 1
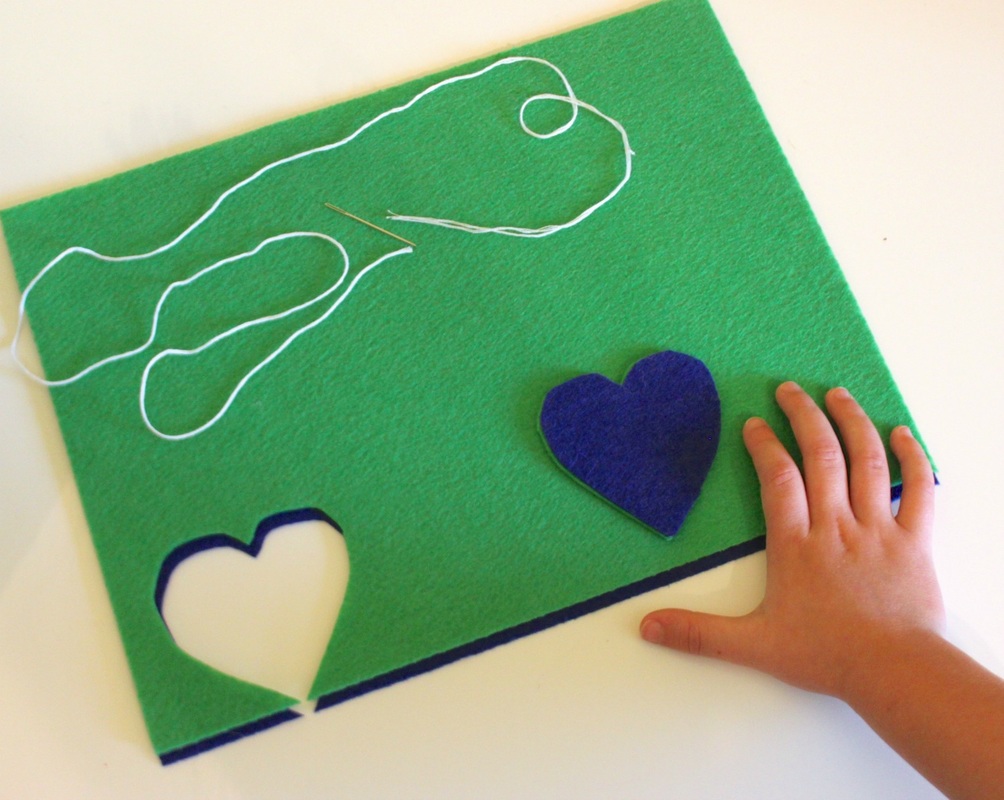
Cut out 2 hearts, about 2.5” tall, 2” wide, from felt (I free-handed it for her, she cut)
- Firm Felt sheet (we used 2 colors to match her Daddy’s favorite colors, but you can obviously use just one, you won’t use much. They’re around $0.30 each)
- 1 Color Embroidery Thread
- 1 Child-friendly needle (with the embroidery thread in most stores. It’s blunt and has a large eye)
- Scissors, Glue, cardstock paper and a Marker
Step 1
Cut out 2 hearts, about 2.5” tall, 2” wide, from felt (I free-handed it for her, she cut)
Step 2
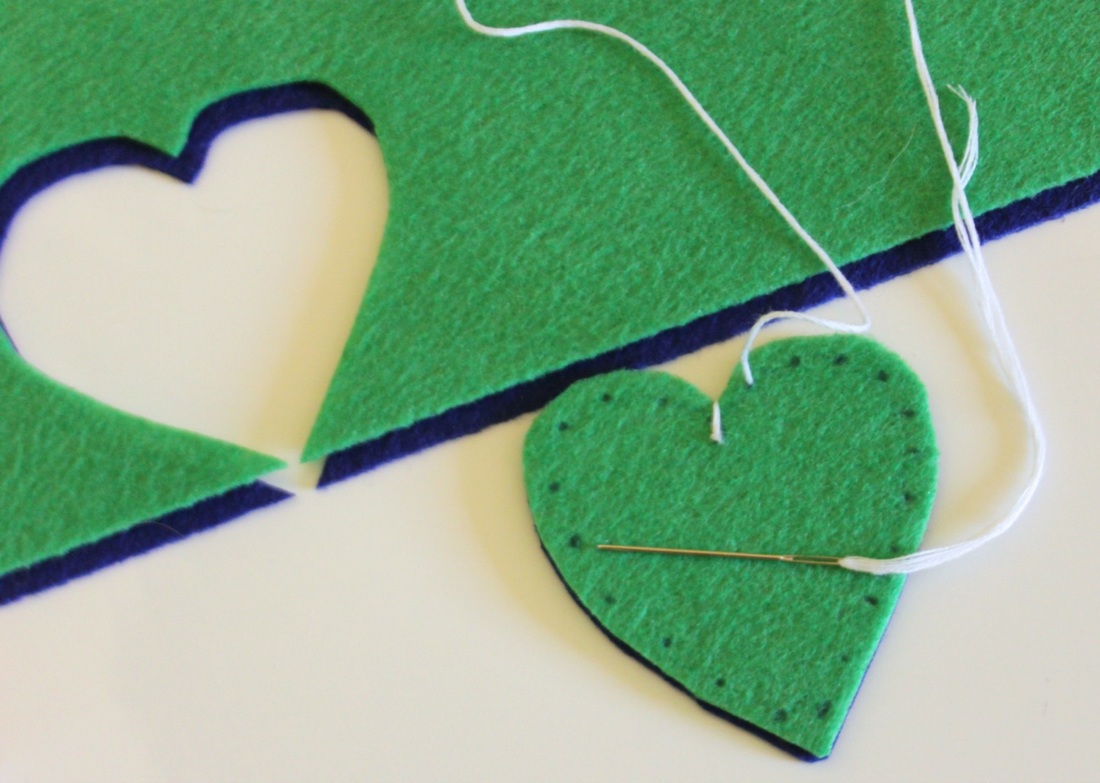
Draw dots about ¼” apart all the way around the heart as a stitching guide. Thread needle, and tie knot at end. Slip the knot inside the middle of your 2 hearts, pulling the needle through to the front of one felt heart to begin stitching.
Draw dots about ¼” apart all the way around the heart as a stitching guide. Thread needle, and tie knot at end. Slip the knot inside the middle of your 2 hearts, pulling the needle through to the front of one felt heart to begin stitching.
Step 3
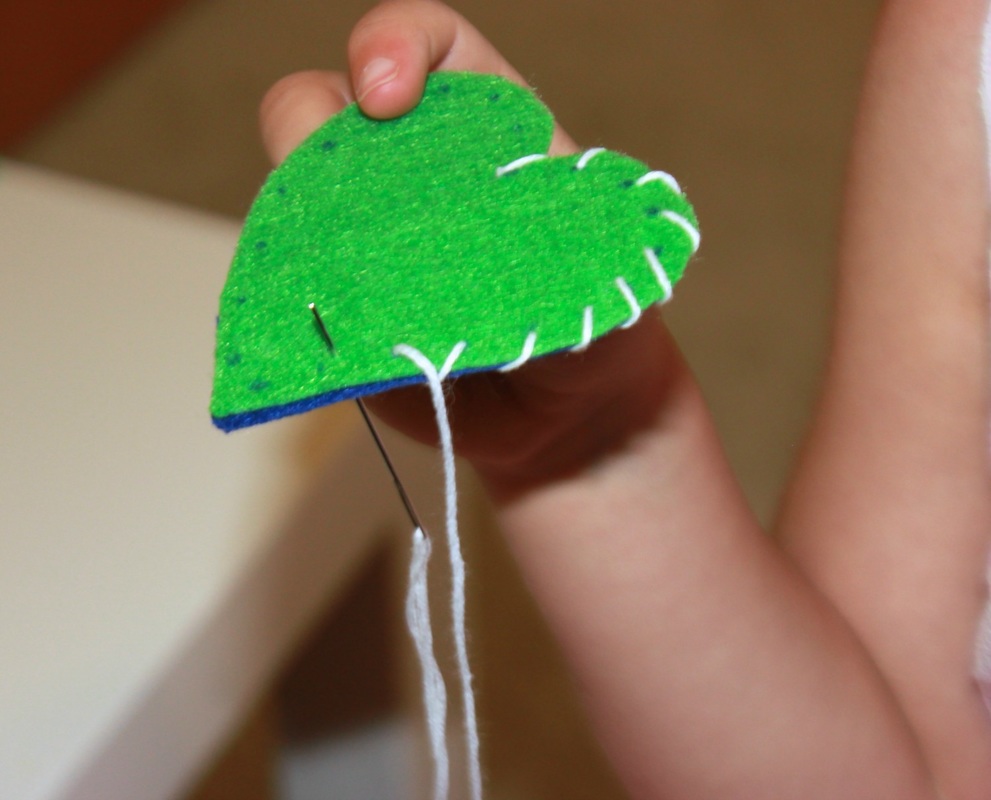
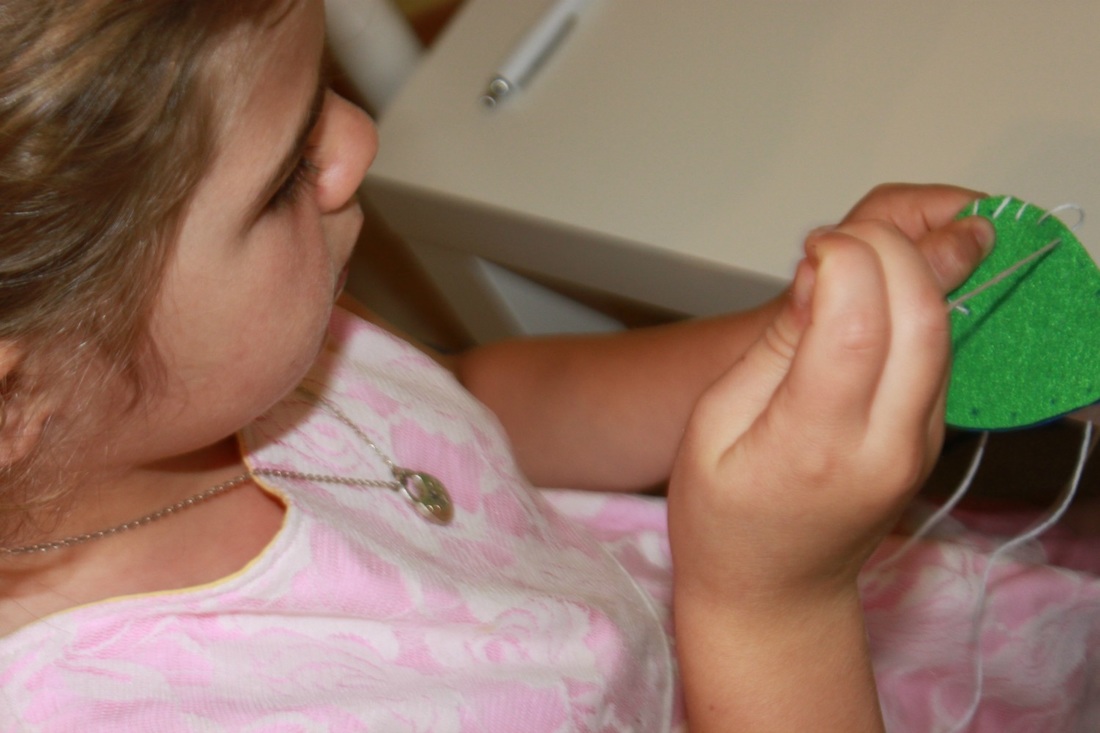
“Whipstitch” around the heart—that means, instead of going up and down through the felt hearts, you’ll go around the outside edge. Up from the bottom, around the edge, and back up through the next hole.
“Whipstitch” around the heart—that means, instead of going up and down through the felt hearts, you’ll go around the outside edge. Up from the bottom, around the edge, and back up through the next hole.
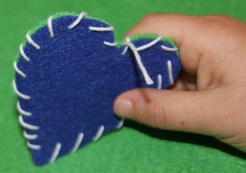
Continue all the way around back to the top. To tie off and close it up, push the needle through the last hole, but unthread it, leaving the thread in the middle. Trim it short, and close with a dab of glue to ensure the thread stays inside and the fabric pieces closed.
Step 4
The sewing’s all done! Now, print the 2 large hearts out on cardstock (or some thicker paper), and cut around the images. *Download the PDF below for images to print They’re simple grey, so your child can color it in or draw on it if preferred.
Step 4
The sewing’s all done! Now, print the 2 large hearts out on cardstock (or some thicker paper), and cut around the images. *Download the PDF below for images to print They’re simple grey, so your child can color it in or draw on it if preferred.
Step 5
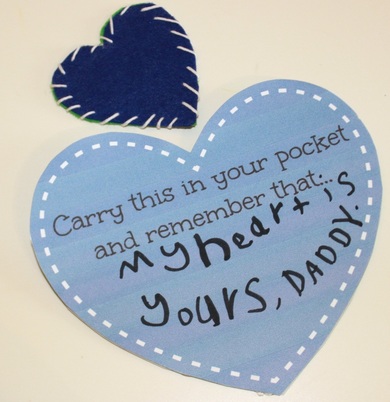
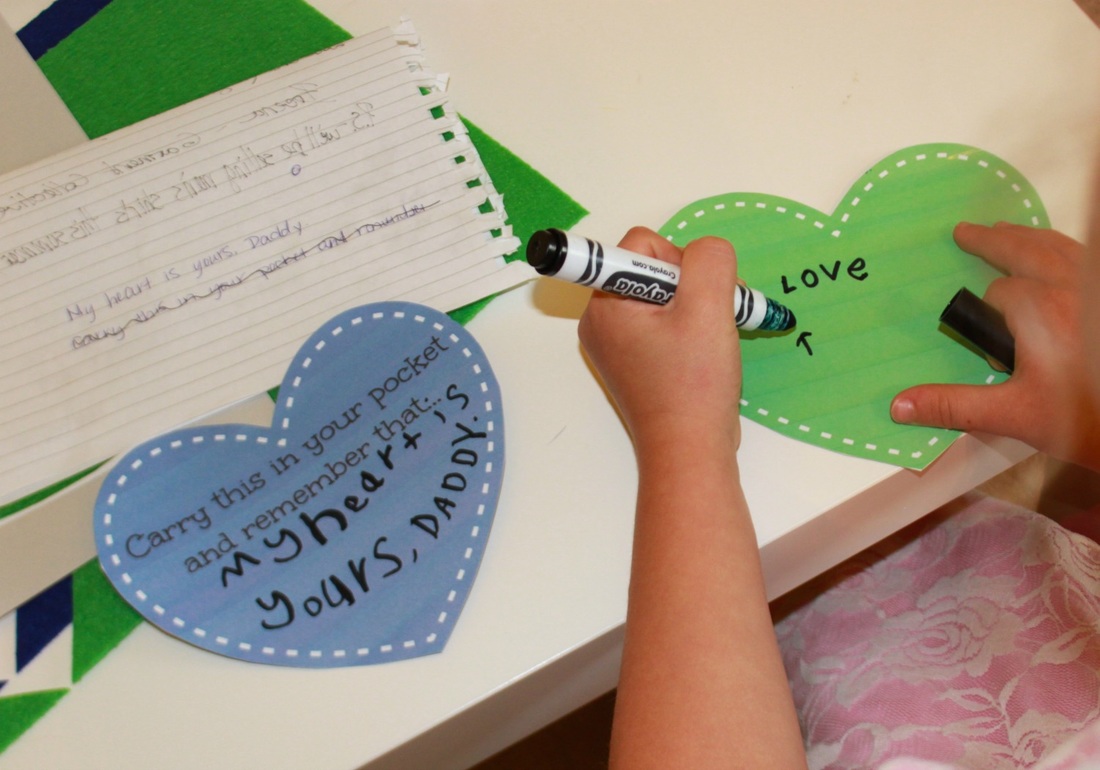
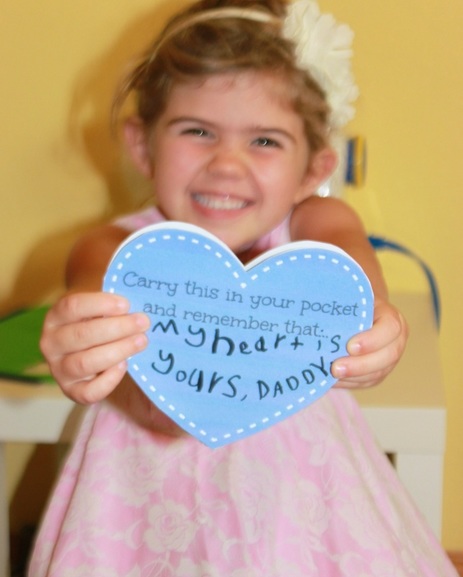
Have your child write (if capable) “My heart is yours, Daddy” on the front heart, and their name on the back, blank heart cutout. Glue the hearts together to make a quick envelope.
Have your child write (if capable) “My heart is yours, Daddy” on the front heart, and their name on the back, blank heart cutout. Glue the hearts together to make a quick envelope.
Step 6
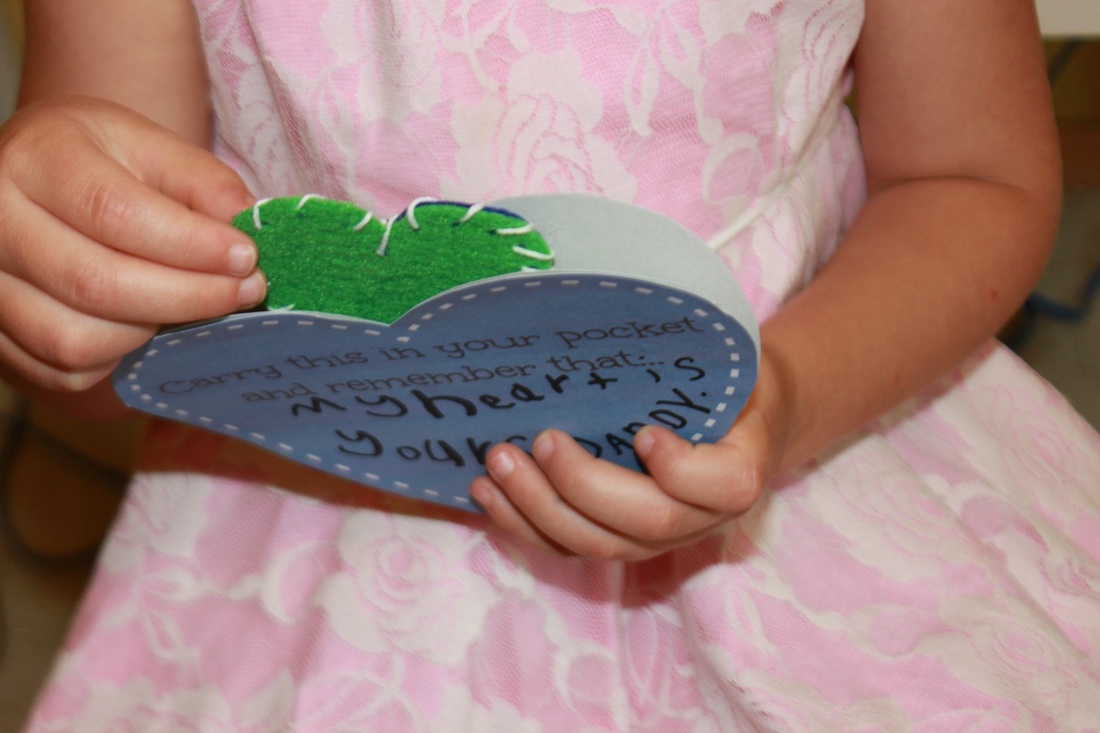
Place the sewn heart inside the envelope, and Ta-Da! You’re done. (And you nailed it!)
Place the sewn heart inside the envelope, and Ta-Da! You’re done. (And you nailed it!)
Now he’s got a little something he can carry in his pocket, in his briefcase, or place on his desk to remind him that he carries with him a very special little someone’s heart. Pretty perfect for Father's Day, no?!
**Other ideas:
Make it hangable: Instead of tucking the remaining thread inside the hearts, use the excess thread to tie into a loop. Now the heart can hang from the rearview mirror, or anywhere.
Make it magnetic: simply place a magnet in between the 2 hearts before sewing, and now it can stick on any metal surface he’s got.

 RSS Feed

